Beogram 400X Relay Replacements
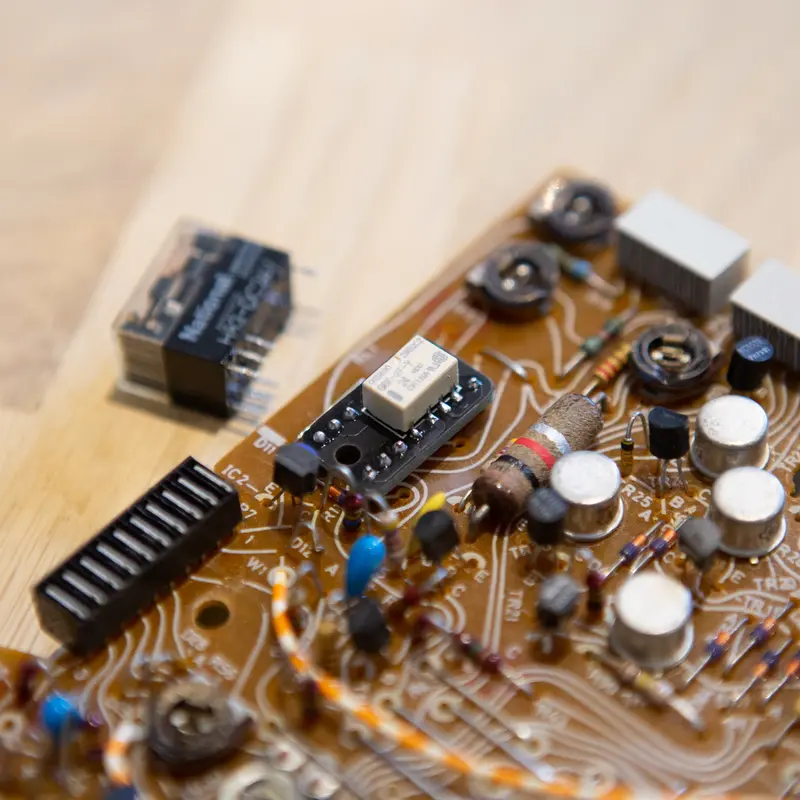
After I changed all the capacitors on the mainboard of the Beogram 4002 (5521), I am restoring it right now; the 45 RPM circuit stopped working while listening to a record with The Boss. I sought help with the schematics and decided to replace the two main relays (part 8009020), as suggested by Rudy from Beolover.
I couldn't find any drop-in replacements with the same specifications and dimensions, and because of the customs when importing from the US (Beolover) to Denmark, I decided to make my own version of Rudy's relay replacement part.
I decided to use almost the same relay as Rudy (I'm using the highly insulated Omron G6K-2F-Y), and with a little help from the schematics and a calliper, I managed to create my own PCB schematics using Fritzing.
After receiving the PCBs and relays from China, I soldered everything (for the first time working with SMD) and tested it in the Beogram 4002. It was working as expected and even quieter than the old Siemens relay.
I quickly found out that it was super difficult to solder all the small header pins vertically and parallel to each other, so there was only one thing to do! I 3D printed a small base with room for the pins and a PC,B which I glued to the top of the base. The soldering base makes it super easy and fast to solder these replacements. I just add the pins and fit another PCB on top of them and solder. Voilá!
I wasn't completely satisfied with the clicking sound coming from the relays when lowering the tonearm or switching between 33/45 RPM, so I decided to create a 3D hood with sound-dampening material inside.
The sound-dampening hood was made in Tinkercad and has almost the same dimensions as the old Siemens relay, so it's easy to replace. I printed it in PLA as usual with a width of 0.2mm and a temperature of 204 °C.
After playing around with various sound-dampening materials, I decided to use Melamine Foam, which dampened the sound the most. I added a drop of glue to the inner top of the hood and added the foam.
With a small indentation in the hood, the PCB could easily be slipped into place. It was secured in place with a drop of glue and then soldered back onto the BG4002 for further testing.
It works perfectly, and it's almost silent. You'll have to struggle to hear it. I'm quite sure that B&O would use a silent relay if it existed back in the 70s, so this is as good as it gets!
Update, 02-01-2020:
I got some feedback on the sound-dampening hood for my Siemens replacement relay for the Beogram 4000 series. For some customers, the relay hood was a little too large due to the surrounding components, so I created a smaller version of the hood. It is 2mm smaller on each axis and uses less PLA, so it should fit easily now :) Furthermore, the corners are rounded, so it looks and feels better.
Update, 11-02-2021:
While restoring a 4004, I needed a replacement for the National relay as well. The footprint was a little different, but it was still fairly easy to design. This time in black PCB. Looks good! It also fits the Beogram 8000 and various cassette decks.
Related PCB
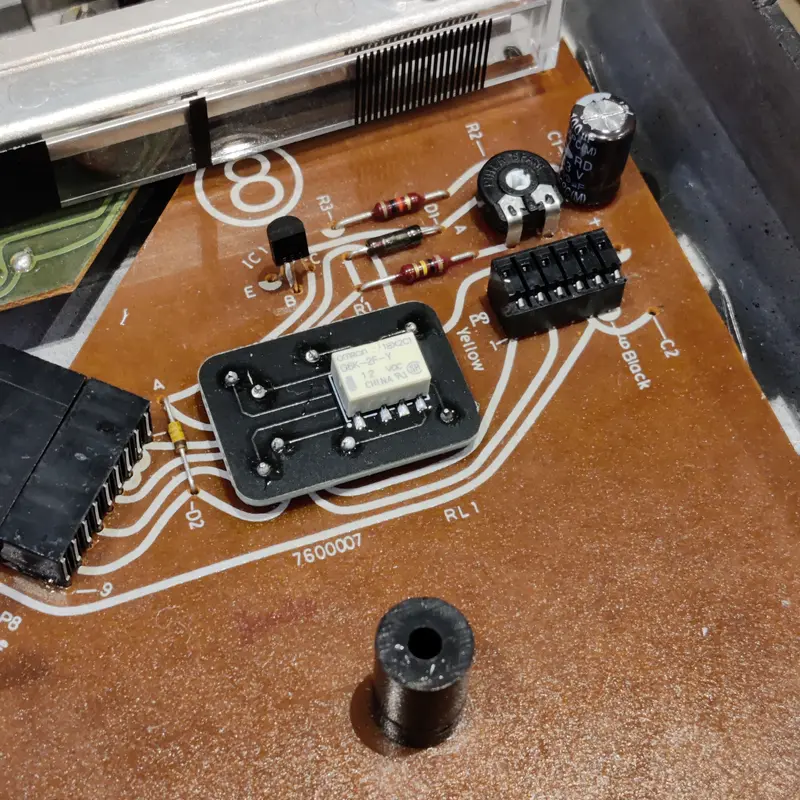
Siemens Relay Replacement
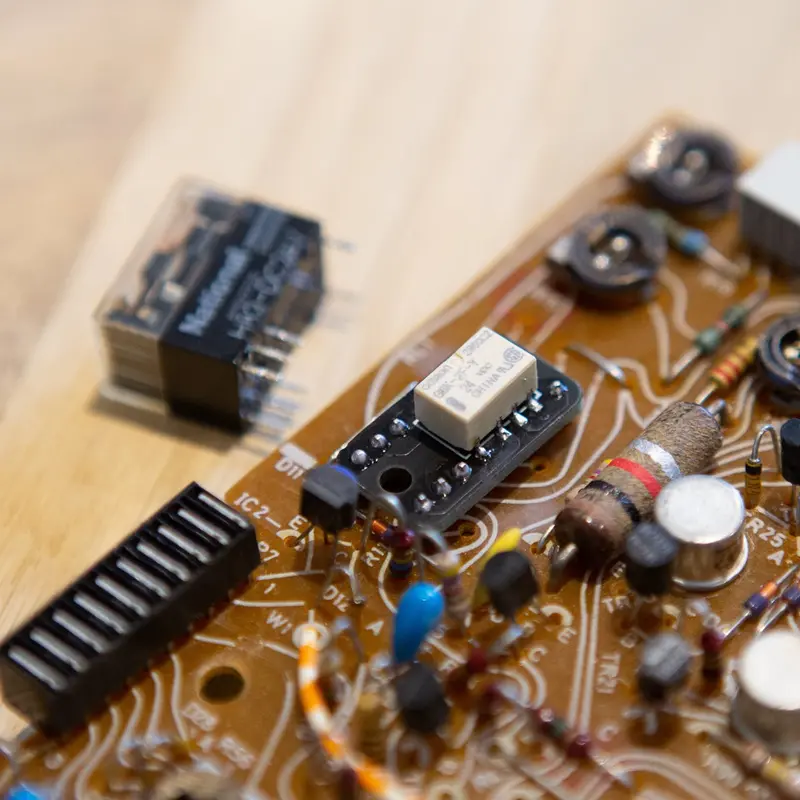
National Relay Replacement