Restoring the keypad and chassis on a BeoGram 4002
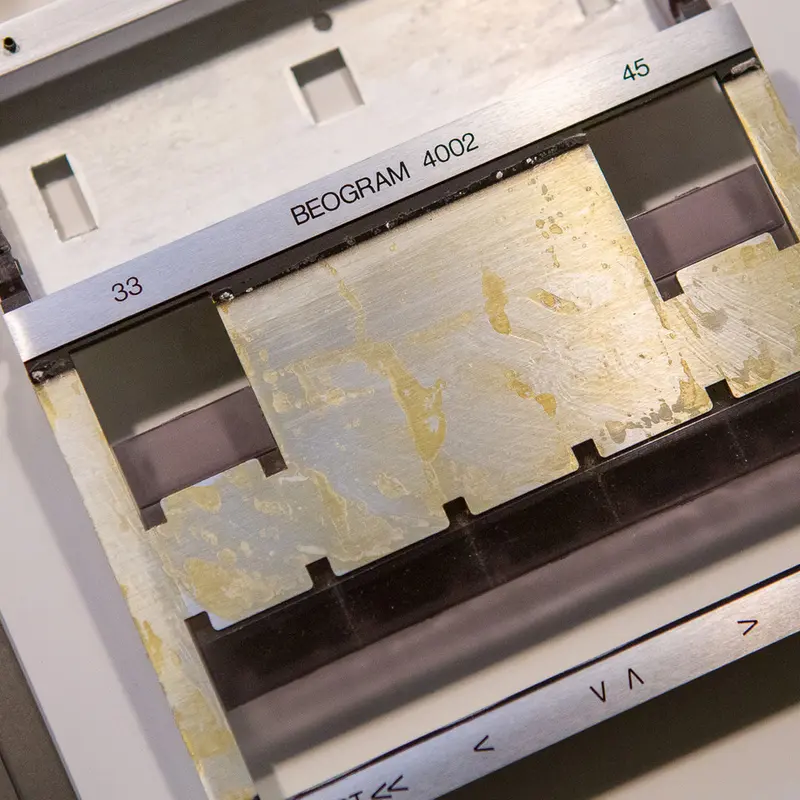
On the BeoGram 4002, decades of use wear through the varnish and black paint on the keypad.
I separate the keypad from the chassis and strip the old glue and varnish. The keypad is then professionally painted, with a finish that looks just like the original.
It goes back on the chassis with 2K epoxy, clamped against a 3D printed bracket I made with a felt pad, so the fresh finish isn't marked.
Finally, I refit the PCB and check the function of the keypad before the unit goes back together.
More work
More on the BeoGram 400X
BeoGram 400X overview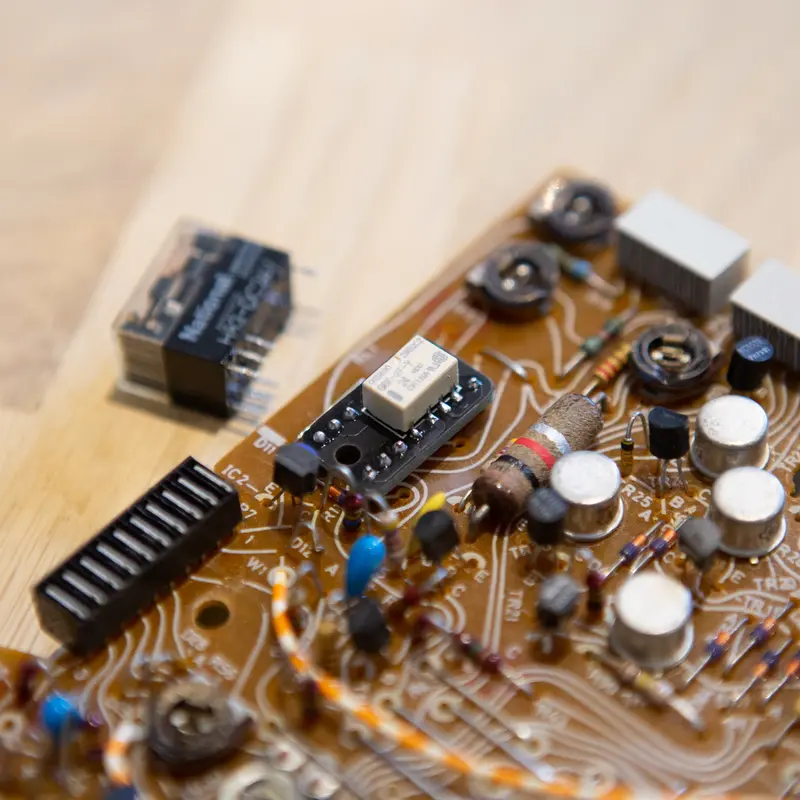
Relay replacement
The original relays in the BeoGram 4000 series wear out with age. I replace them with my own relay PCBs, built around modern Omron relays.
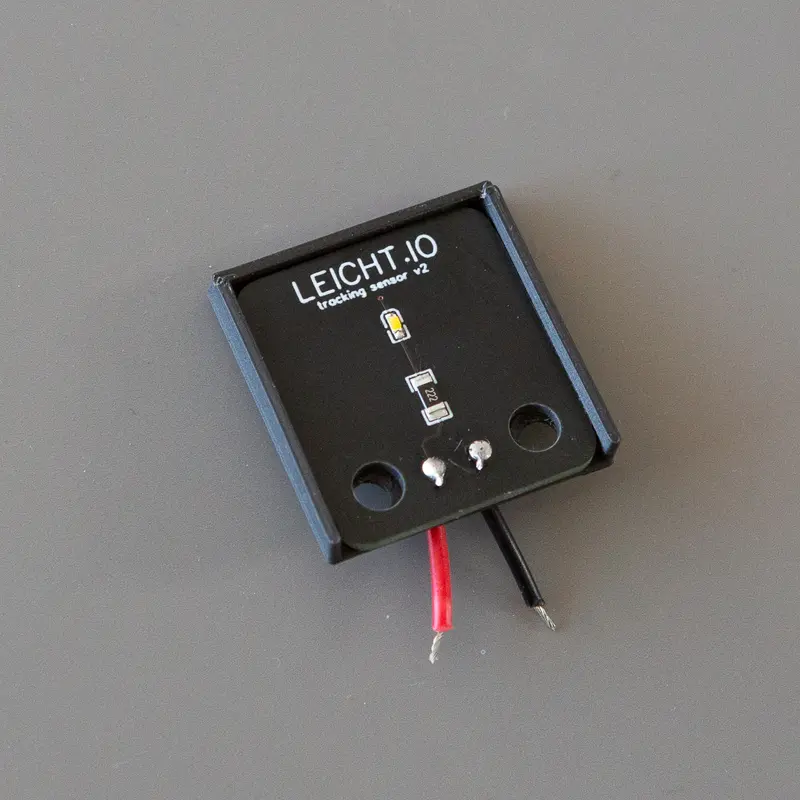
LED tracking sensor
The BeoGram 4002 tracks the groove with an optical sensor lit by an incandescent bulb that dims with age. I replace it with a calibrated LED on a small PCB.
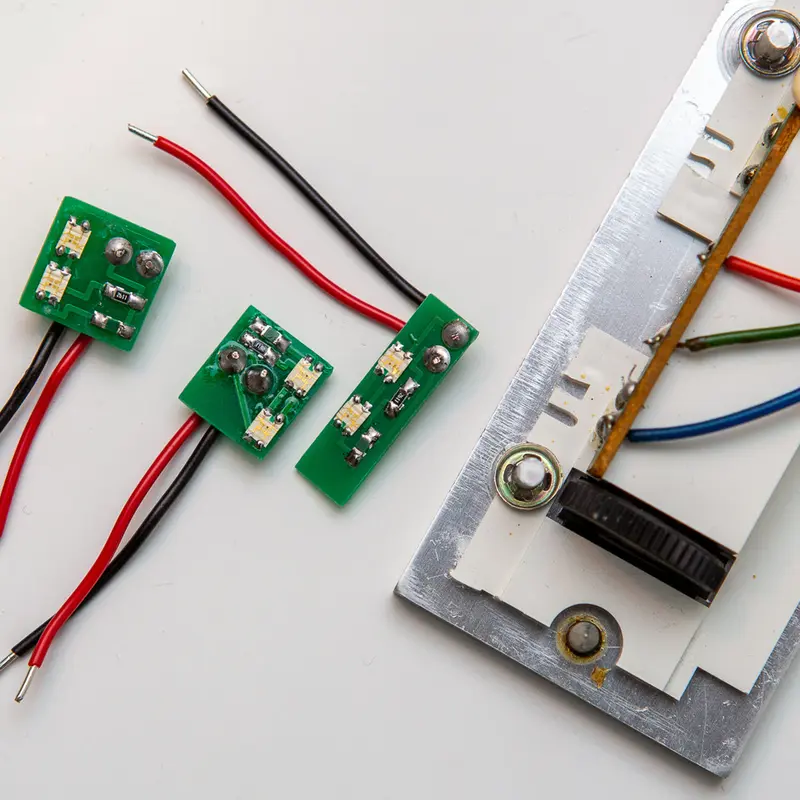
LED RPM adjustment lights
The bulbs behind the 33 and 45 rpm scales on the BeoGram 4002 and 4004 panel have usually burnt out after more than 40 years. I replace them with a warm white LED PCB of my own design.
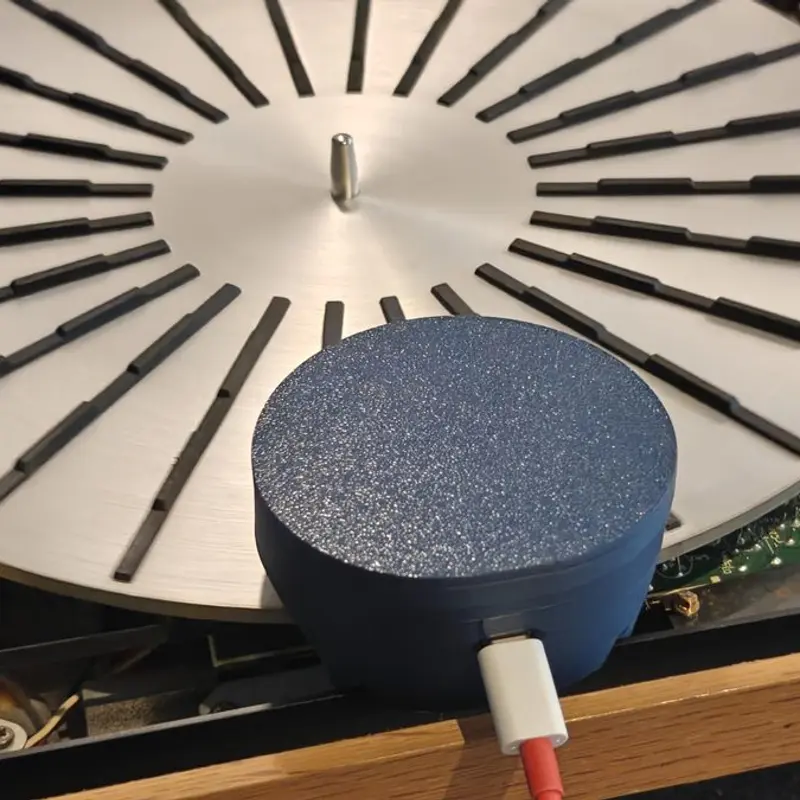
Speed testing with SpinDex
Every BeoGram 400X I restore is speed tested with SpinDex, an open source RPM logger I designed for the BeoGram 4000 series.
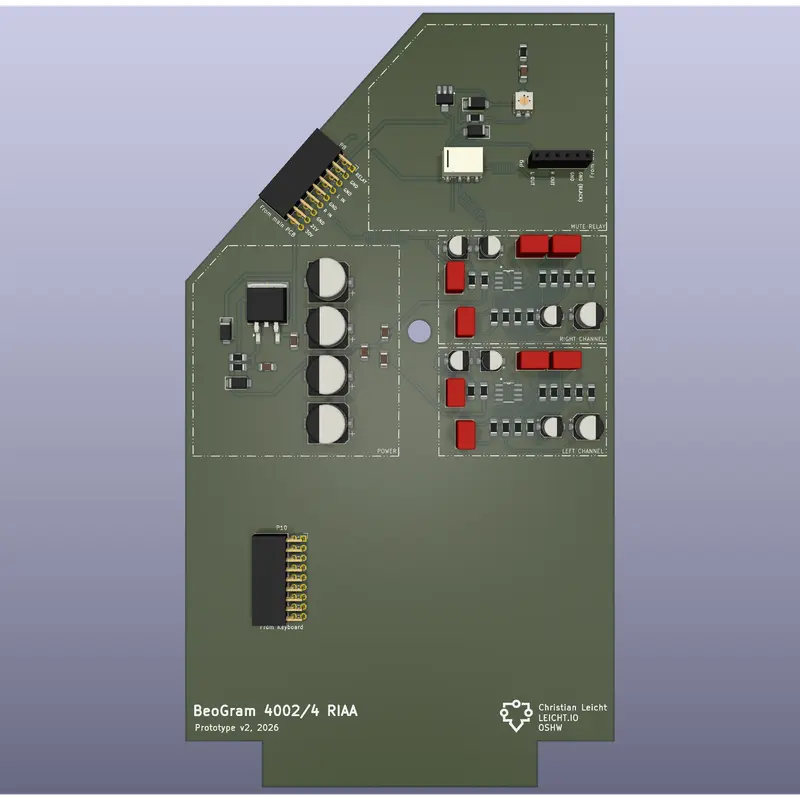
RIAA preamp
A new RIAA preamp for the BeoGram 4002, built around the OPA2134 in the same form factor as the original board. The second SMD prototype is built and tested.
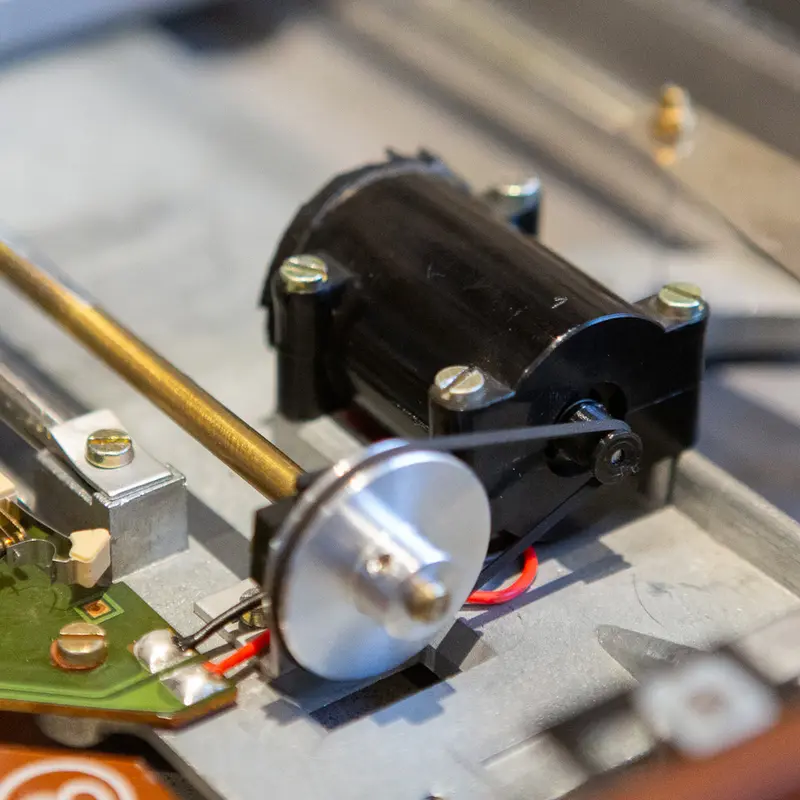
Sledge motor
The original sledge motors in the BeoGram 4000 series can get noisy and unstable, and their bearings can't be serviced. I replace them with a modern Portescap motor, with a Maxon motor as the alternative.
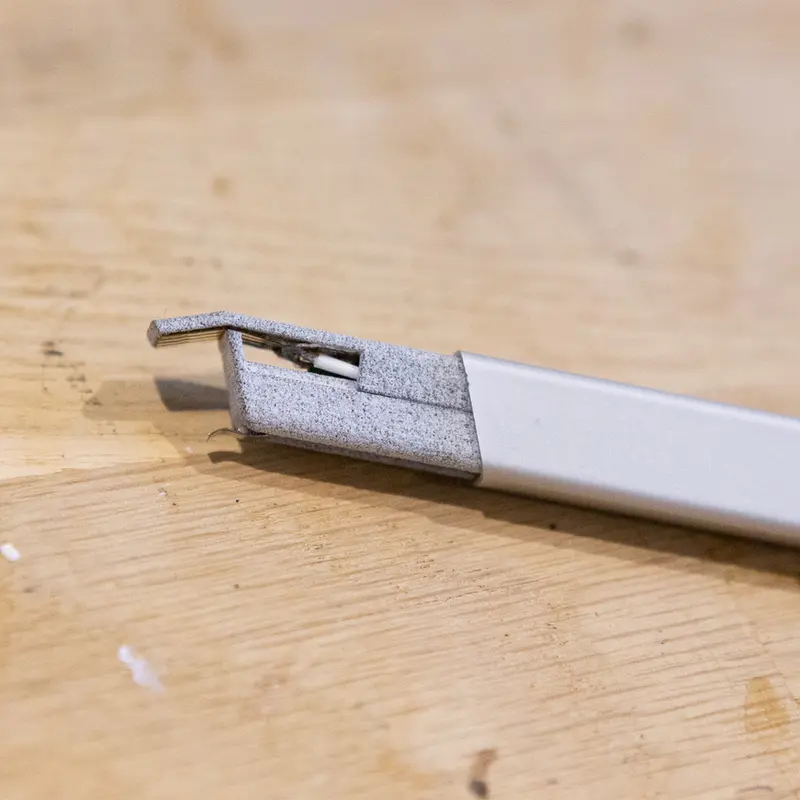
Pickup mount
The plastic tab in the BeoGram 4000 pickup mount can break with wear and age. I replace the mount with my own nylon part and flexible PCB.
Have a BeoGram 400X that needs this?
Tell me about your BeoGram 400X and what's wrong with it, and I'll get back to you.